Introduction
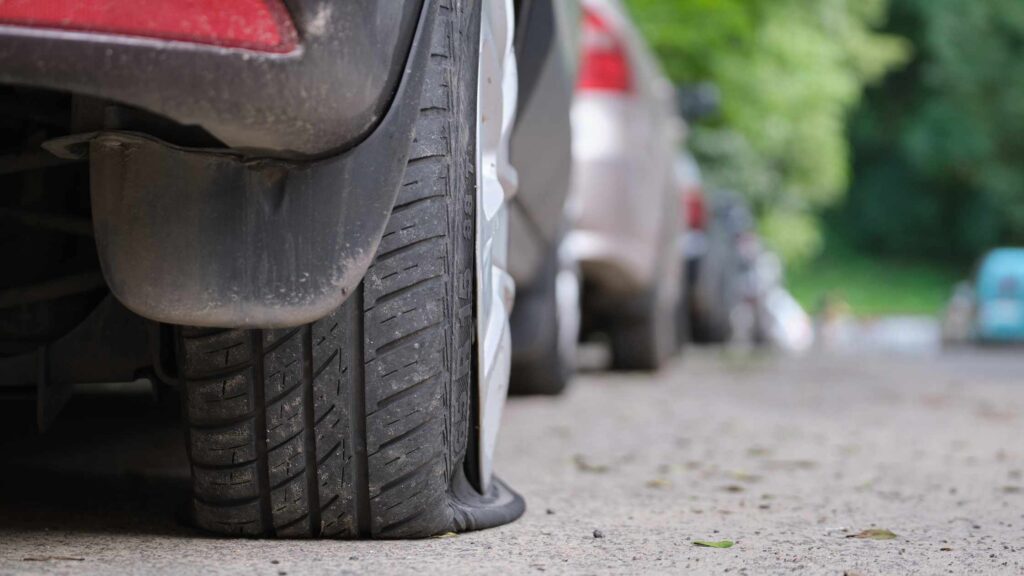
Imagine driving down a lonely road in the middle of nowhere, when suddenly you feel your car jerk and a loud thumping noise fills the air. Your heart sinks as you realize you have a flat tire. Panic sets in, and you wonder what to do next. This is a situation every driver dreads, but with the right knowledge and preparation, changing a flat tire can be a simple and quick task. In this guide, we will walk you through the step-by-step process of changing a flat tire, ensuring you are equipped to handle any roadside emergency confidently.
Step 1: Find a Safe Location
The first and most important step when faced with a flat tire is to find a safe location to park your vehicle. If possible, pull over to the side of the road to a flat surface away from traffic. Avoid stopping on a sharp bend or on a hill, as this could put you and other motorists in danger. Always prioritize your safety and the safety of others.
Step 2: Gather the Necessary Tools
Next, you will need to gather the tools required to change your tire. The essential tools include a spare tire, jack, lug wrench, and a flashlight. These tools are typically found in the trunk of your car, so make sure you are familiar with their location and how to access them. It is also a good idea to have a reflective vest or a roadside emergency kit on hand for added safety.
Step 3: Loosen the Lug Nuts
Once you have gathered the necessary tools, it’s time to get down to business. Start by using the lug wrench to loosen the lug nuts on the flat tire. In most cases, turning the lug nuts counterclockwise will loosen them. Remember, some lug nuts may be extremely tight, so applying your body weight or standing on the wrench may be necessary. Loosening the lug nuts before lifting the vehicle off the ground will make the next step easier.
Step 4: Lift the Vehicle
Now it’s time to lift the vehicle off the ground with the jack. Locate a sturdy and safe place under the vehicle to position the jack. Most cars have designated spots along the frame for jack placement. Consult your vehicle’s manual if you are unsure. Once the jack is properly positioned, start pumping the handle until the flat tire is at least six inches off the ground.
Step 5: Remove the Flat Tire
With the vehicle lifted, it’s time to remove the lug nuts and take off the flat tire. Using the lug wrench, continue turning the lug nuts counterclockwise until they are fully removed. Place the lug nuts in a secure location to prevent them from rolling away. Carefully pull the flat tire straight towards you, ensuring it is completely clear of the wheelbase.
Step 6: Mount the Spare Tire
Now it’s time to mount the spare tire onto the vehicle. Lift the spare tire and align it with the wheel studs. Push the spare tire firmly onto the studs until it is flush against the hub. Once in position, hand tighten the lug nuts as much as possible. It’s important to note that you should not fully tighten the lug nuts at this stage.
Step 7: Lower the Vehicle
With the spare tire mounted, it’s time to lower the vehicle back down to the ground. Use the jack handle to slowly lower the vehicle until all four wheels are firmly on the ground. Once the vehicle is on the ground, you can then proceed to tighten the lug nuts.
Step 8: Tighten the Lug Nuts
Using the lug wrench, tighten the lug nuts in a clockwise direction. Start with one lug nut, then move to the lug nut opposite it, creating a star pattern. This ensures even tightening and helps maintain balance. Continue this process until all the lug nuts are tightened securely.
Step 9: Lower the Jack
Once the lug nuts are tightened, it’s time to lower the jack and remove it from underneath the vehicle. Slowly turn the handle counterclockwise to lower the vehicle. Once the vehicle is fully lowered, ensure that all lug nuts are tightened once again for added safety.
Step 10: Check the Tire Pressure
After changing the tire, it’s crucial to check the tire pressure of the newly mounted spare tire. Use a tire pressure gauge to ensure the spare tire has the recommended pressure. If the pressure is too low or too high, adjust it accordingly before hitting the road.
Conclusion
Changing a flat tire is a life-saving skill that every driver should possess. By following the step-by-step process outlined in this guide, you can confidently tackle a flat tire and ensure a safe and hassle-free journey. Remember to always prioritize safety, find a secure location, gather the necessary tools, and follow each step carefully. With this skill in your toolkit, you can conquer any unforeseen flat tire situation and get back on the road in no time. Stay prepared, stay safe!